
Here it is shut but we've been running it set at ~2/3.
|
Spray Booth |
Zinc Silicate Crystalline Glaze Pottery A chronicle of my recent progress and a way for me to keep it straight in my head! |
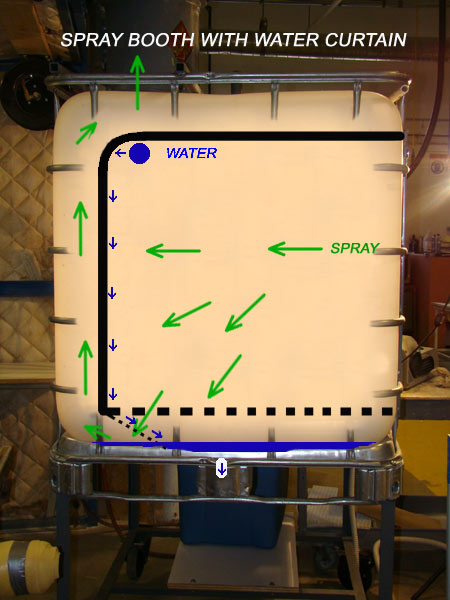
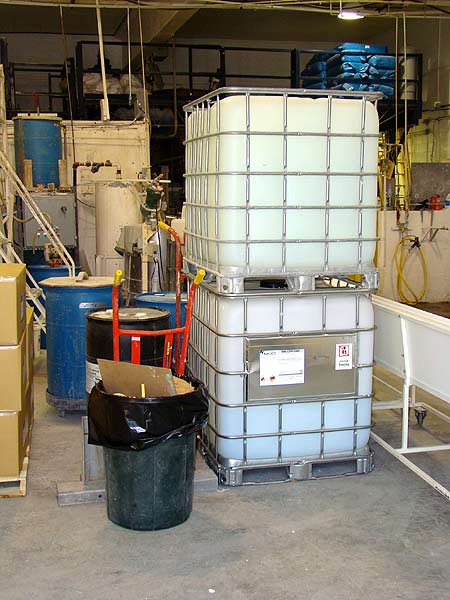
7-27-10 We finally got the double wall water curtain finished in the spray booth .
|
|
|
|
|
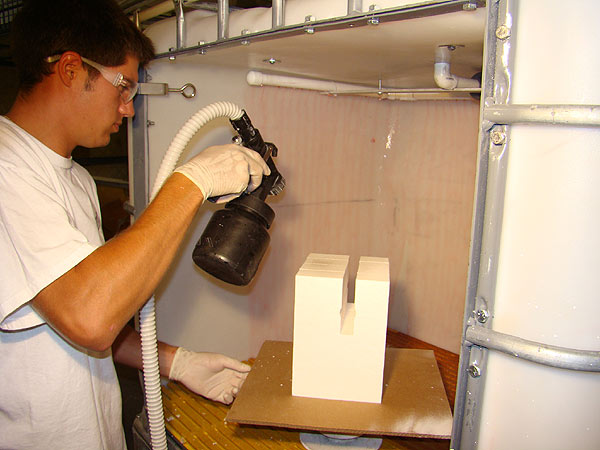
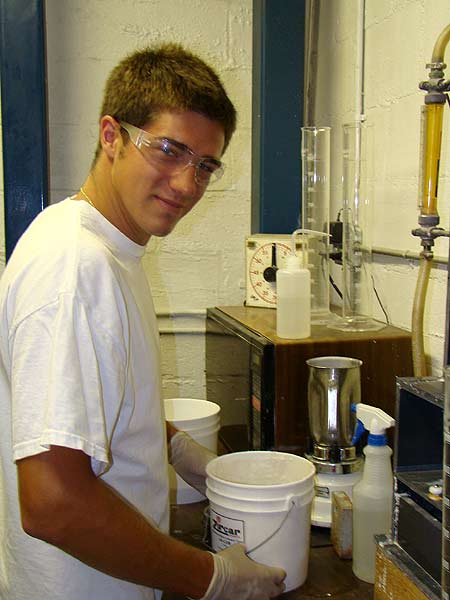
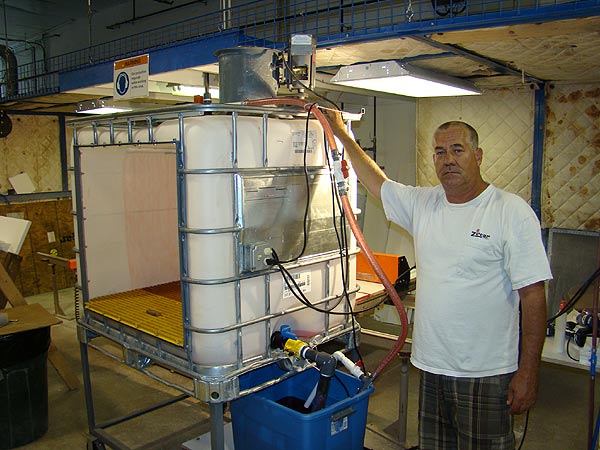
| Ready to go on it's maiden voyage. | Phil put it through it's paces today at ZIRCAR spraying a refractory coating on insulation shapes. | Only after he spent a little time with the blender, in the conical elutriator station, to prepare the coating. | It's a damn good thing I don't try to make a living with graphics, but I think this shows the "flow" of things. |
|
|
|
|
|
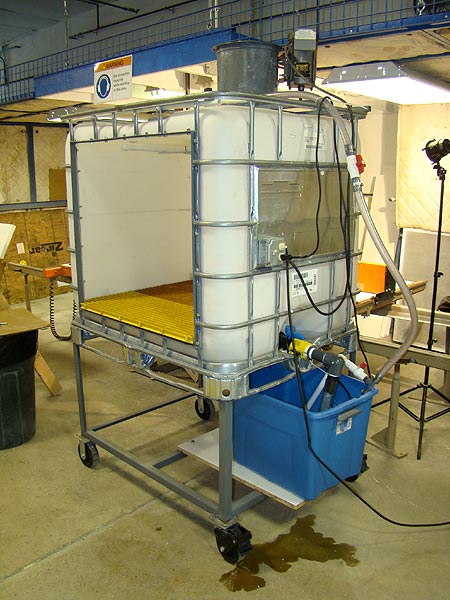
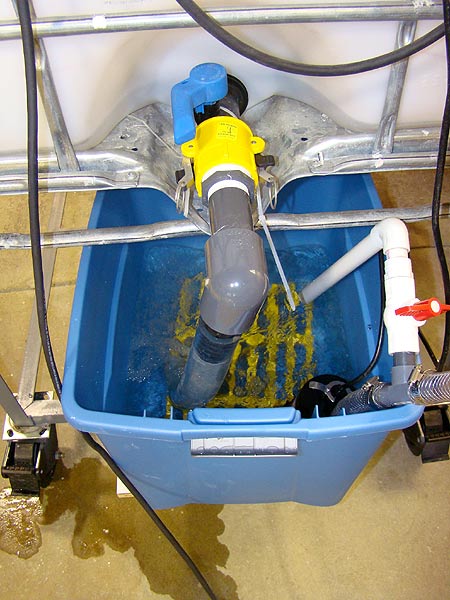
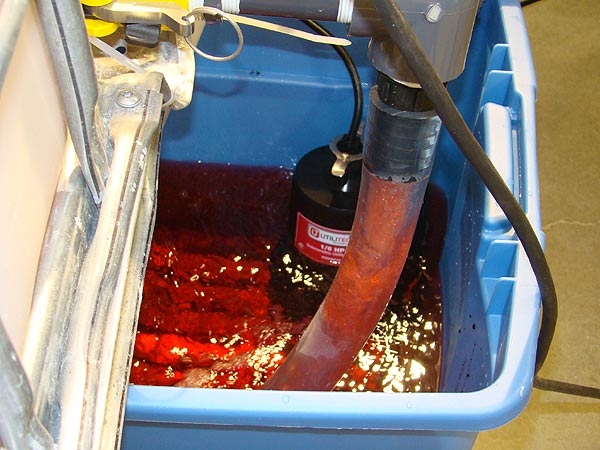
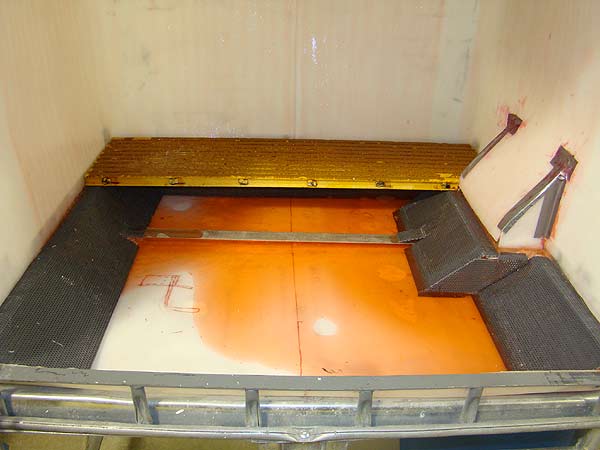
| We started with 2 ea. 275 gallon totes. After cutting a door in one and adding some welded steel and wheels to it, we took the floor and 3 walls out of another. Then added a pump, basin, plumbing and electrical stuff to it. | The pump is 1/6 hp, pumping 1500 gal / hr through about 40 ea. 1/8" diameter holes. | It has a bypass valve, which will
come in handy when it is time to drain it. Here it is shut but we've been running it set at ~2/3. |
|
|
|
|
|
|
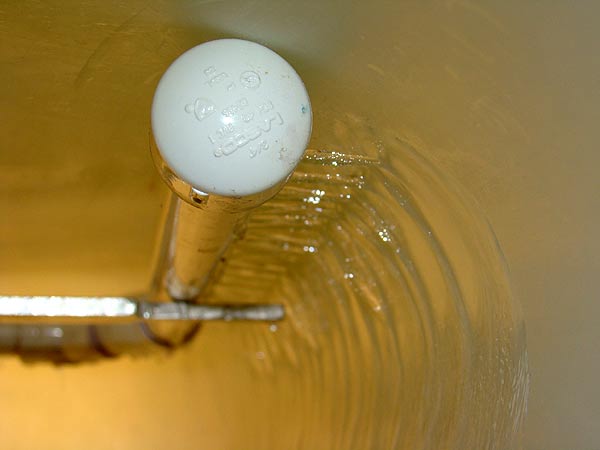
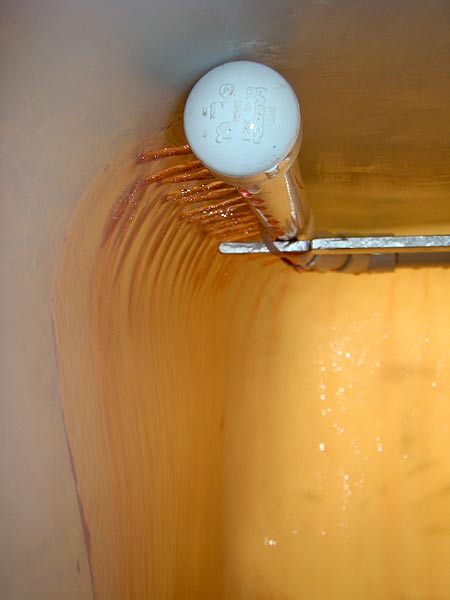
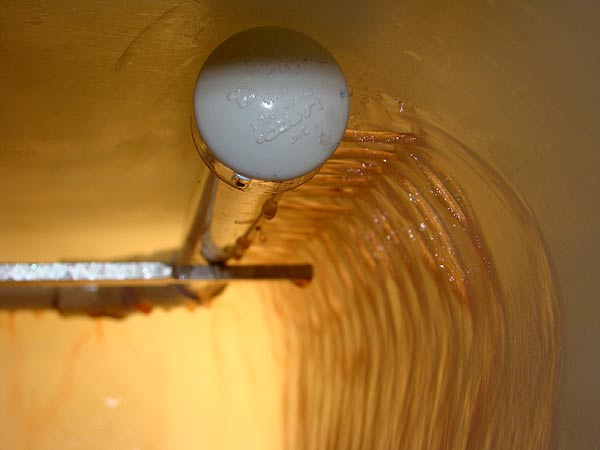
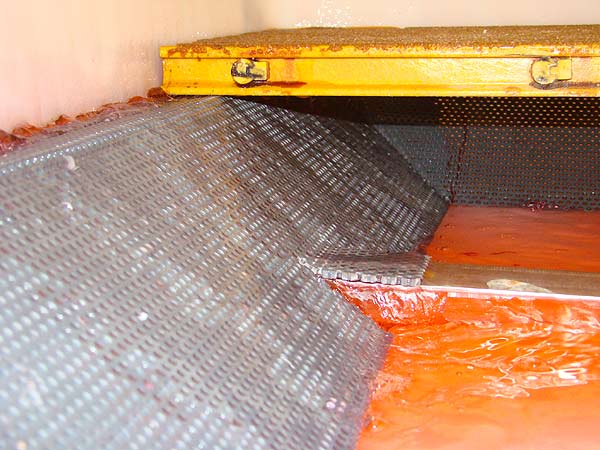
| Orienting the spray holes horizontally seemed key to avoiding splashing. | We added a dose of red food coloring to make it easier to see the flow. | As is seen here...... | ........and here. |
|
|
|
|
|
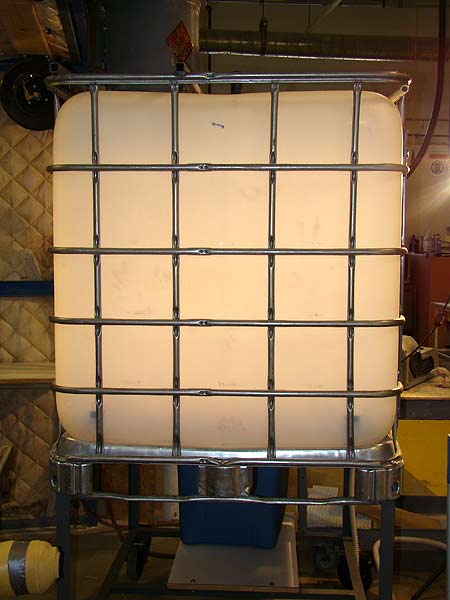
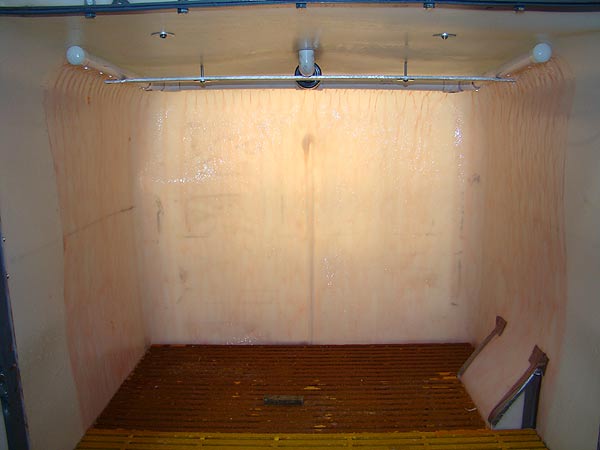
| The hole layout did a pretty good job of covering all 3 walls. | Under the yellow Fibergrate® are perforated panels of PVC sheet so the air has to pass through 1/8" dia. wet holes before exiting. | A closer look at the perforated PVC panels in the floor, and............ | A Happy Camper! |
Phil Hamling
376 County Route 1
Warwick, NY, USA 10990