 |
|
 |
|
Making Vertical Test Tiles with Catchers December 7, 2007 |
Zinc Silicate Crystalline Glaze Pottery A chronicle of my recent progress and a way for me to keep it straight in my head! |
This is the technique I've been using to make vertical test tiles with glaze catchers lately.
Cut slabs from clay out of the box using a slab cutting roller.
Rib both sides to align and comprerss the clay.
Dry to a firm consistency and cut 2" x 3 1/2" rectangles using the foam lined, self ejecting cookie cutter.
|
|
||
|
Sharp edges cut clean and foam insert ejects the cut part. |
Cut an array of parts to make both the catchers and vertical tiles. |
|
| Be careful you don't hack a chunk of meat out of your finger while making this tool! | ||
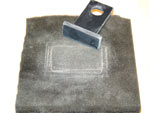
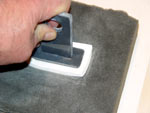
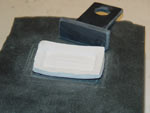
Form 1/2 of them into bases using a foam block and pressing tool.
 |
 |
 |
|
Foam block and shaper. |
Center and press the shaper into the clay. |
Formed pieces puffed up from the foam. |
Sponge exposed edges of the remaining half to form the vertical tile.
Dry to leather hard.
Score and slip the 2 pieces together.
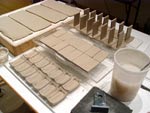 |
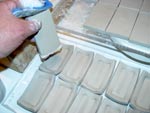 |
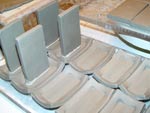 |
|
Prepare a group of parts. |
Score the surfaces and add slip. |
Press the vertical tile into the bases. |
Mark the type a clay on the side or edge of the catcher.
Dry slowly. The faster you dry, the more the bases curl and become like a rocking horse.
When dry, shave bottom of the bases flat if needed.
I had been cutting the pieces out with a straight edge and pin needle, but find this faster and more uniform. In the future I'd like to try using either a slab roller to get larger slabs or an extruder to make 2" wide strips with finished edges.
Phil Hamling
376 County Route 1
Warwick, NY, USA 10990